
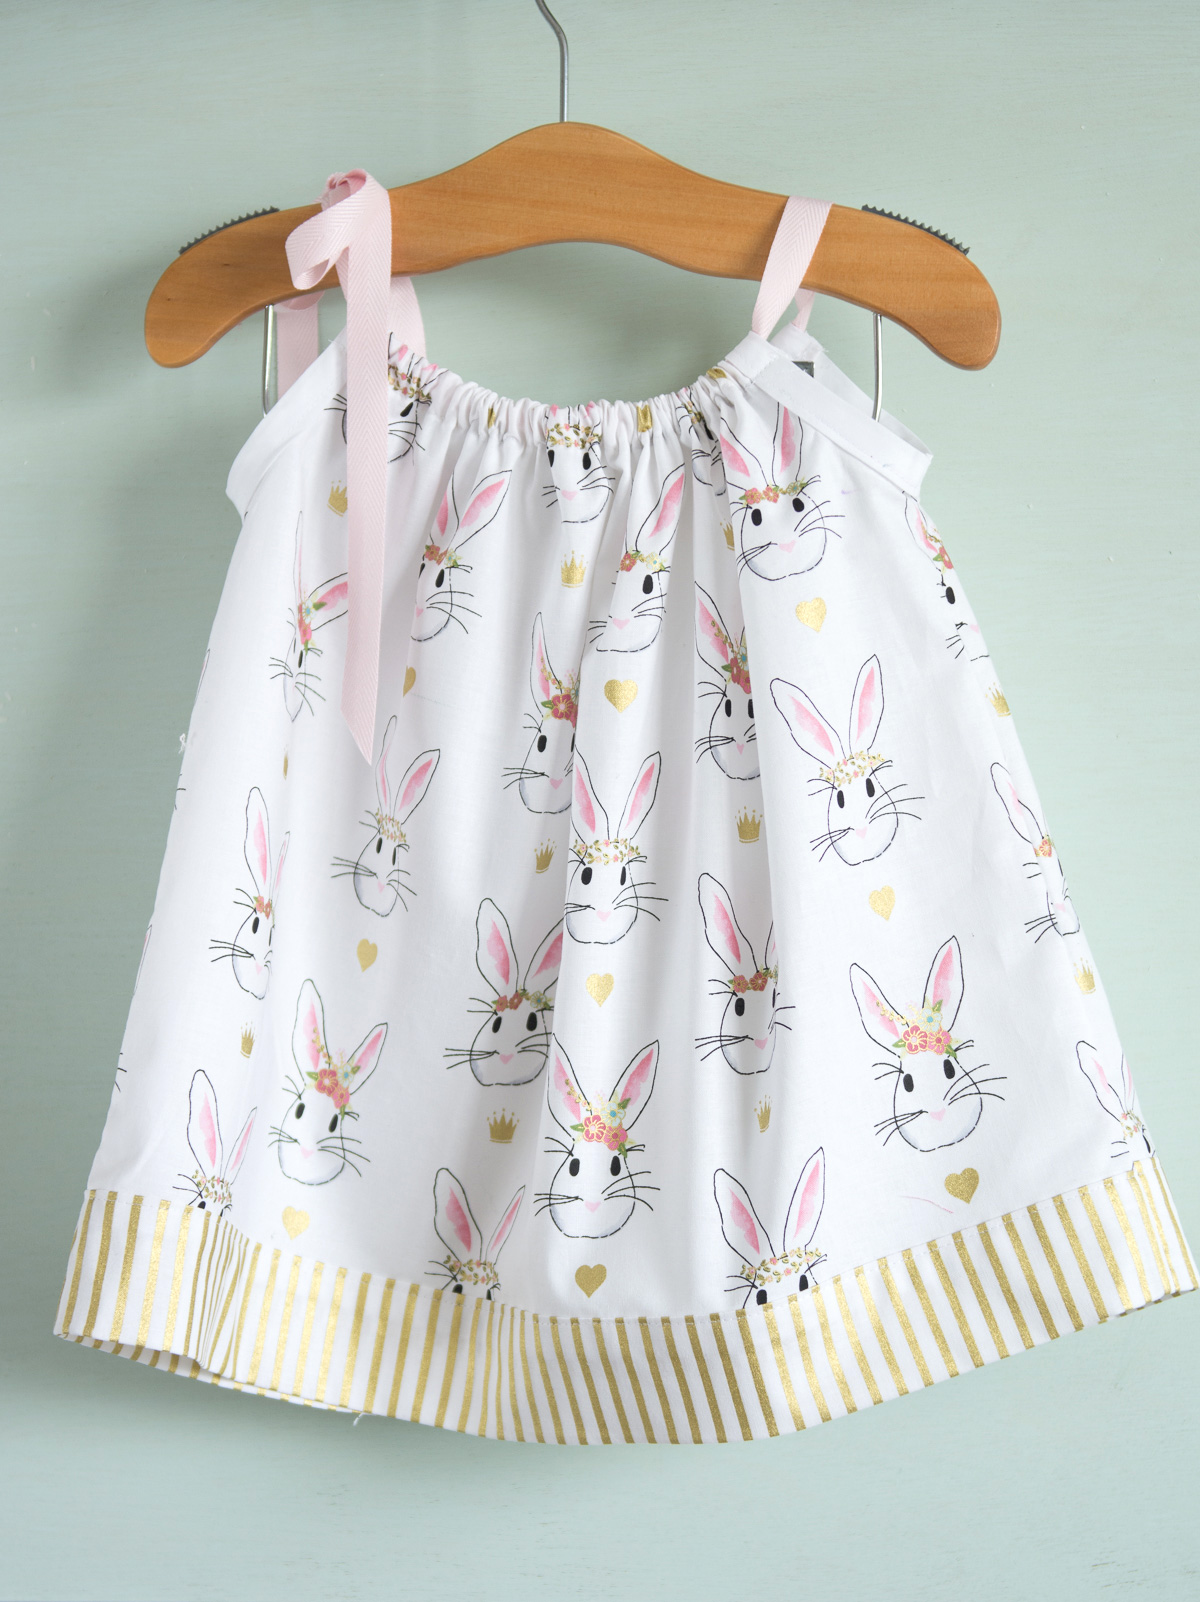
Welcome, fellow sewists, to WeAllSew! Today, we're diving into one of the most beloved and beginner-friendly sewing projects out there: the charming pillowcase dress. This project is a fantastic way to create a delightful garment for a child, perfect for summer days, special occasions, or simply everyday play. It’s incredibly quick to make, uses readily available materials – often upcycling an old pillowcase – and offers endless possibilities for personalization. Whether you're new to your sewing machine or a seasoned pro looking for a speedy gift idea, this tutorial promises fun and adorable results. Let's transform a simple pillowcase into a wearable piece of joy!
Before we begin stitching, let's ensure we have everything ready for a smooth sewing experience. The beauty of the pillowcase dress lies in its simplicity and the minimal supplies required. You'll need one standard or queen-sized pillowcase; choose a fun pattern or a vibrant solid color that you love! Remember to pre-wash and iron your pillowcase for the best results. Next, select about 1 to 2 yards of coordinating ribbon or fabric to create the shoulder straps – satin, grosgrain, or even a simple cotton strip will work beautifully. Of course, your trusty sewing machine is essential, along with a universal needle. Finally, gather your basic sewing notions: sharp fabric scissors, plenty of pins, matching all-purpose thread, a measuring tape or ruler, and a seam ripper (just in case!). Having these items at hand will make the process incredibly straightforward.
Creating your pillowcase dress is surprisingly straightforward, involving just a few key steps. First, prepare your pillowcase. While some tutorials suggest trimming the existing hem, you can often leave it as is for a quick finish, which will become the bottom hem of your dress. Next, you'll create the armholes. Lay your pillowcase flat, fold it in half lengthwise, and measure in from the top folded edge to mark the desired armhole depth. Cut a gentle curve from this mark towards the side seam, remembering to cut through both layers simultaneously for symmetry. Once your armholes are shaped, the raw edges need finishing. A simple double-fold hem, pressed and stitched, will give a neat and durable edge. The top of the dress requires a casing for the ribbon straps. Fold down the top raw edge of the pillowcase by about 1 inch, press, then fold again by another 1 inch. Stitch this fold down, close to the bottom edge of the fold, creating a channel. Finally, thread your chosen ribbon through this casing using a safety pin or bodkin, allowing equal lengths to emerge from each side opening. These ribbon ends will be tied into charming shoulder straps, completing your dress.
While the basic pillowcase dress is adorable on its own, its simple canvas invites endless customization. This is where your creativity can truly shine! Consider adding playful appliqués to the front of the dress – think simple shapes, animals, or even initials cut from contrasting fabric and stitched into place. Hand embroidery can also add a touch of bespoke charm; a simple running stitch along the hem or a small monogram on the bodice can make a big impact. For a little extra flair, consider adding a ruffle to the bottom hem of the dress using a coordinating or contrasting fabric. Small patch pockets, perhaps in a fun print, can be added to the front for holding treasures. Don't forget the ribbon choice itself – a bold print or a textured ribbon can dramatically change the look. If you're making multiple dresses, experiment with different sizes by adjusting the armhole depth and the overall length. The pillowcase dress is a fantastic foundation for expressing your personal style and creating truly unique garments.
And there you have it – a delightful pillowcase dress, ready to be worn and cherished! This project truly embodies the joy of handmade items: it's quick, economical, and incredibly rewarding. Not only have you created a beautiful garment, but you've also practiced essential sewing skills and perhaps even upcycled an item, giving it a new lease on life. We hope this tutorial inspires you to pick up your needle and thread. Don't forget to share your finished pillowcase dresses with us at WeAllSew – we love seeing your creative makes! Happy sewing!
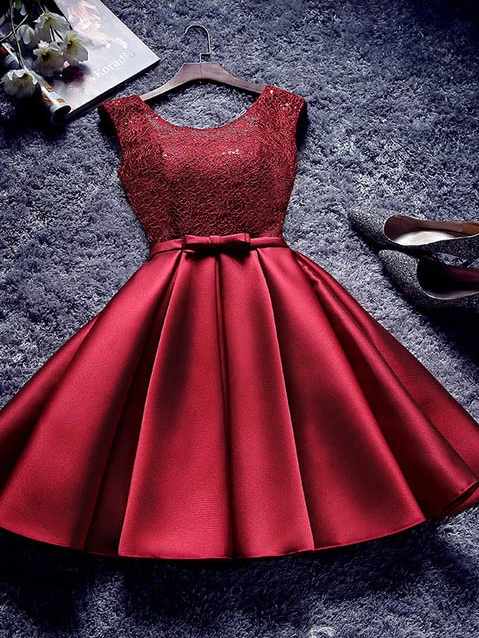
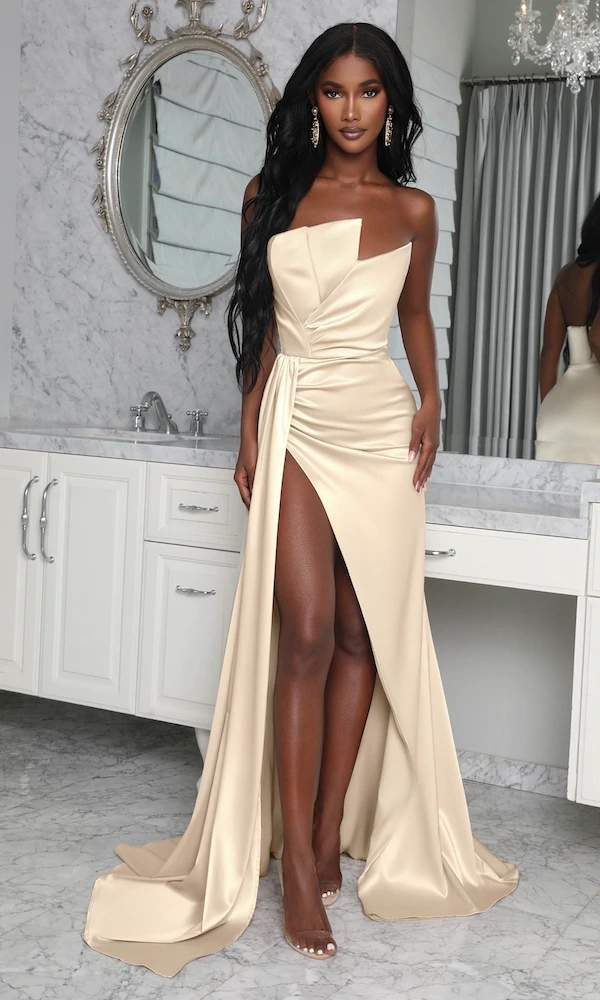
Clearance cheap short prom dresses Cheap Sale

Women's Athletic Shoes & Sneakers | Nordstrom
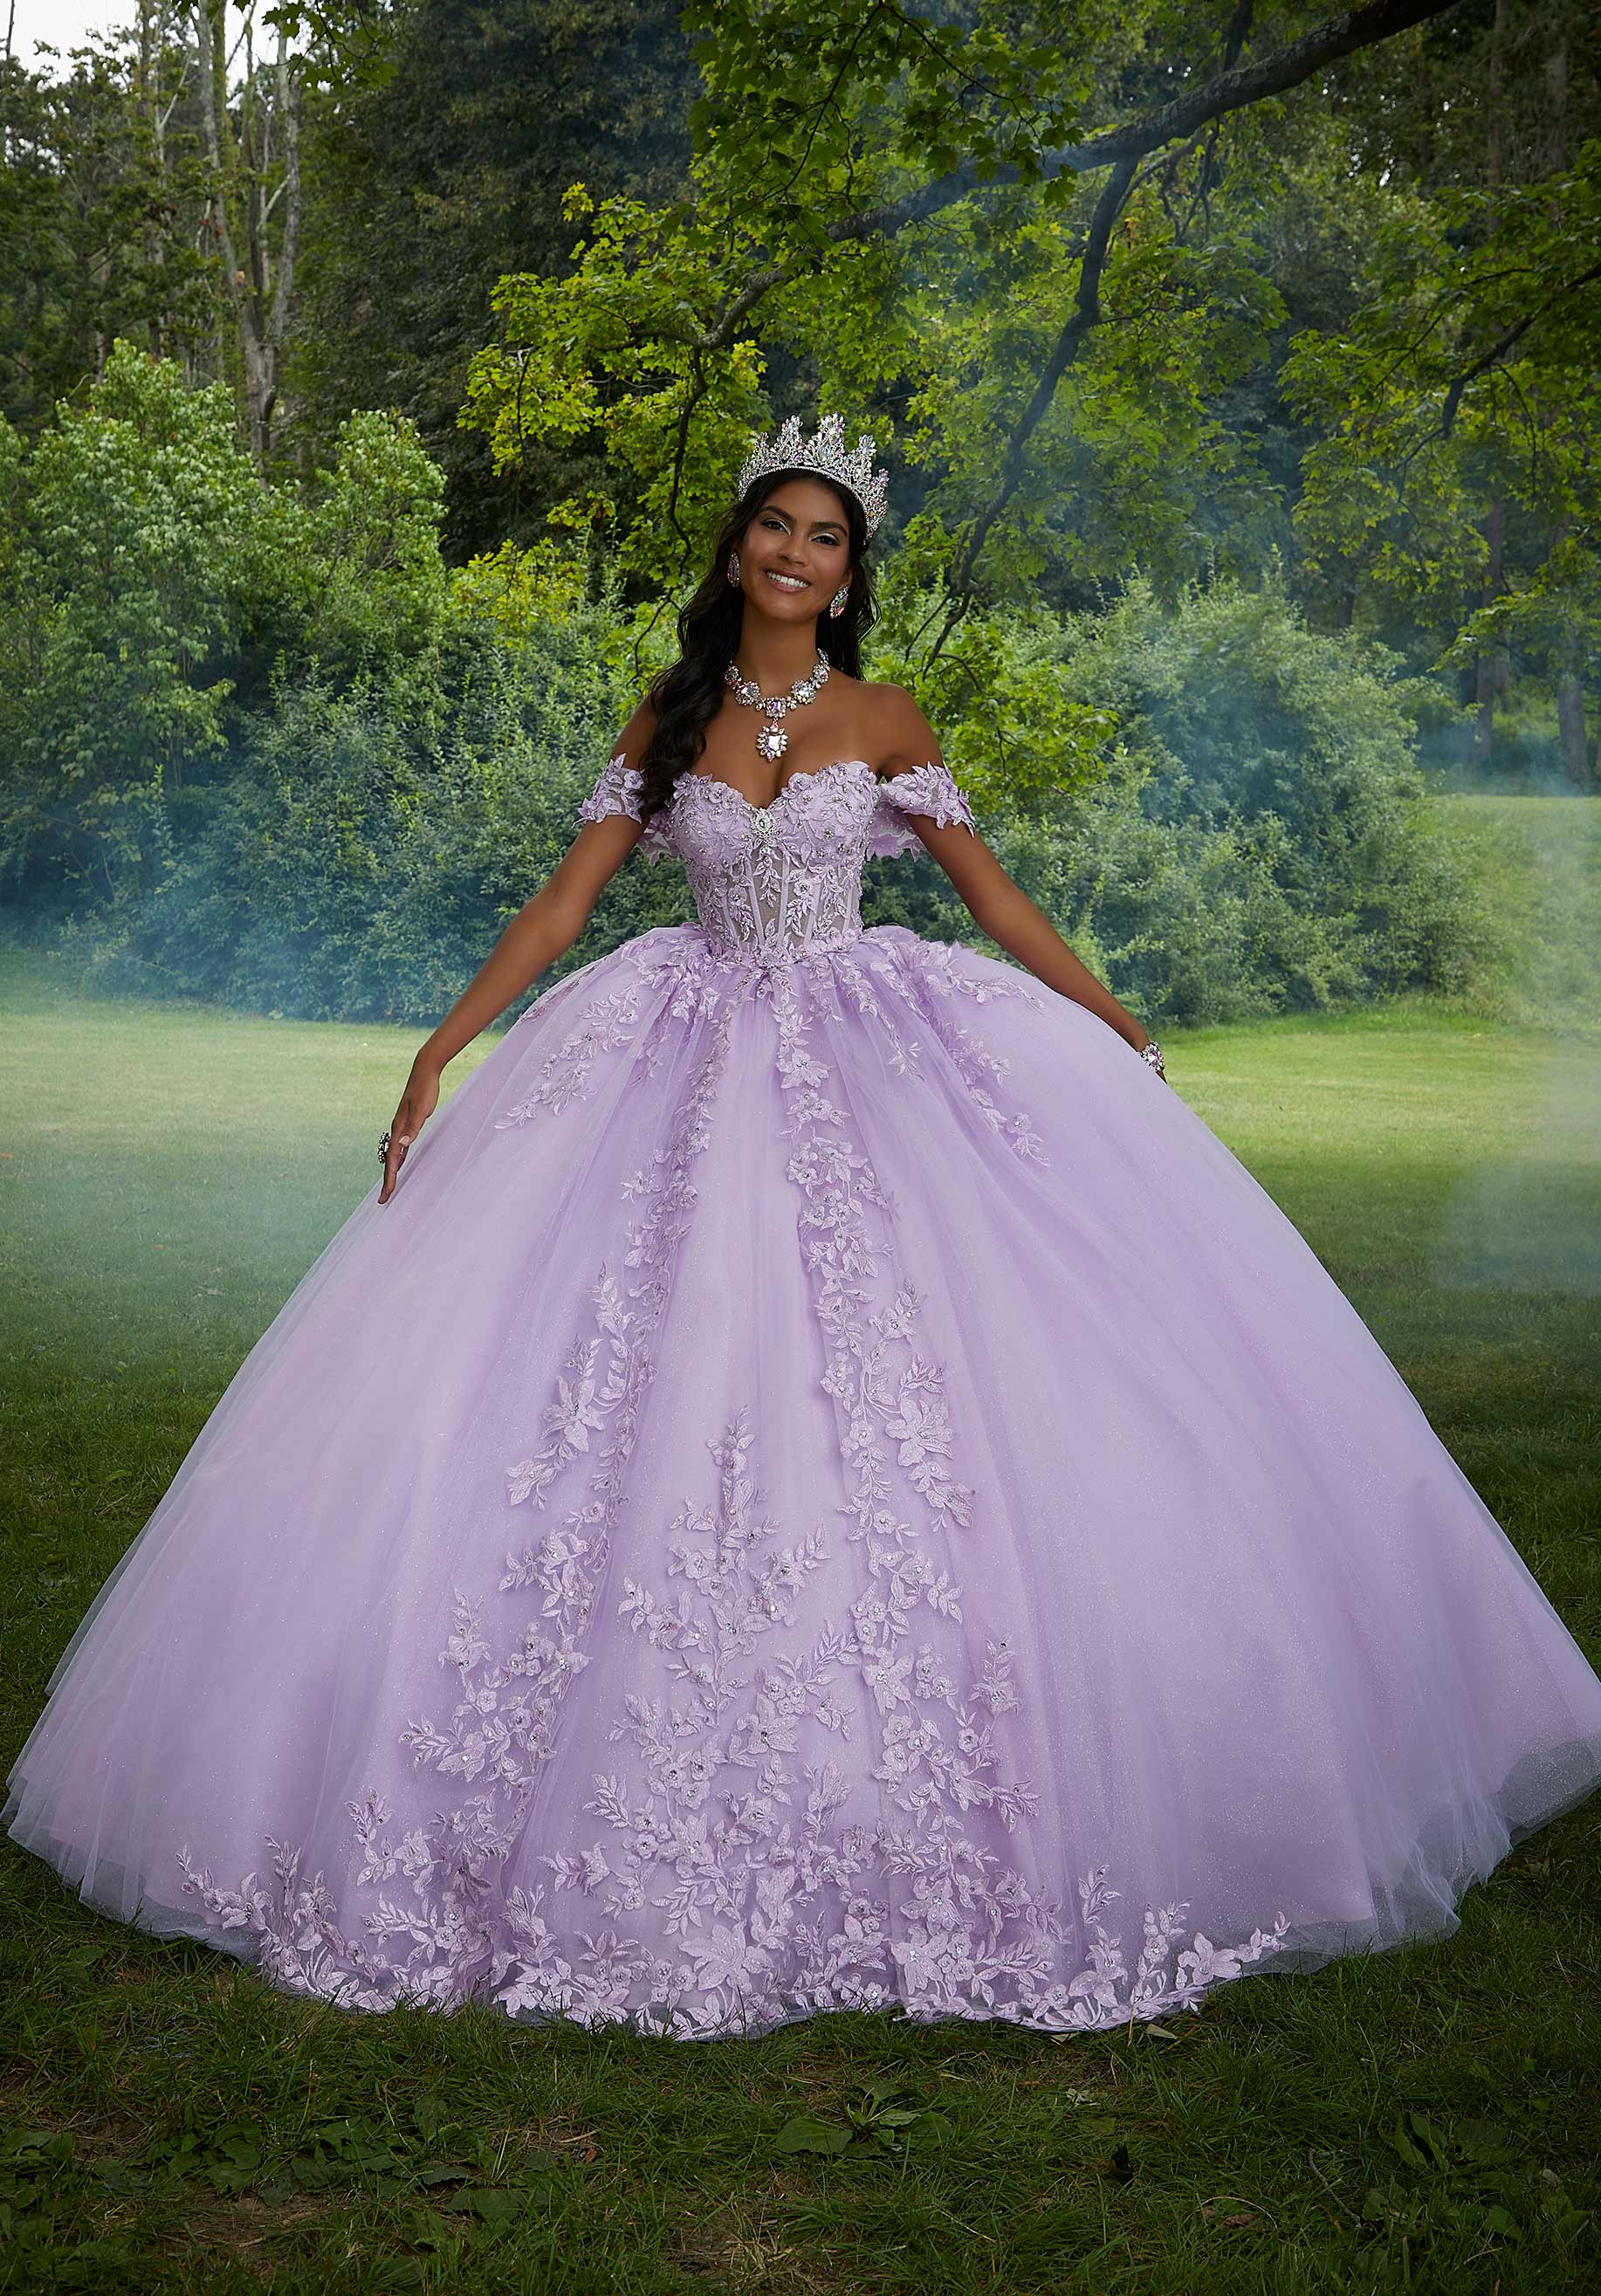
Crystal Beaded Lace Sheer Bodice Quinceañera Dress - Morilee
![A-line Wedding dress - Buy A-line wedding dresses: tattoos, with ... [google]](admin/resimler/a-line-wedding-dress-buy-a-line-wedding-dresses-tattoos-with-google_1762888776.jpg)
A-line Wedding dress - Buy A-line wedding dresses: tattoos, with ... [google]

A girl in a flowing pink gown stands on a dock overlooking a serene lake at dusk.
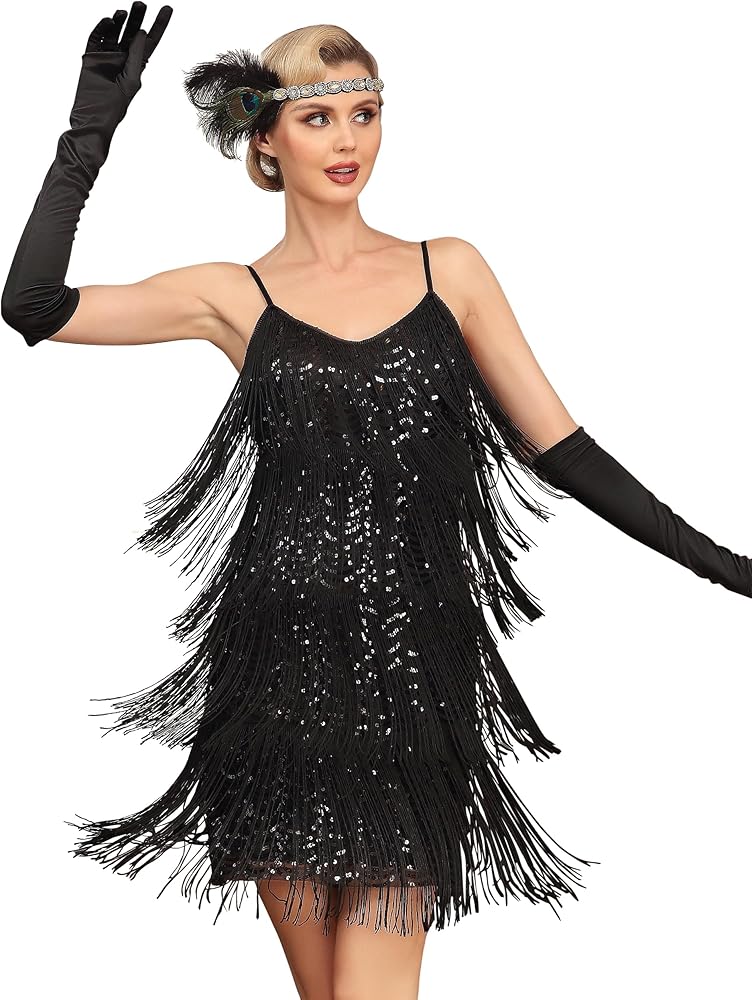
Amazon.com: PrettyGuide Women's Black Flapper Dress V Neck Sequin ...
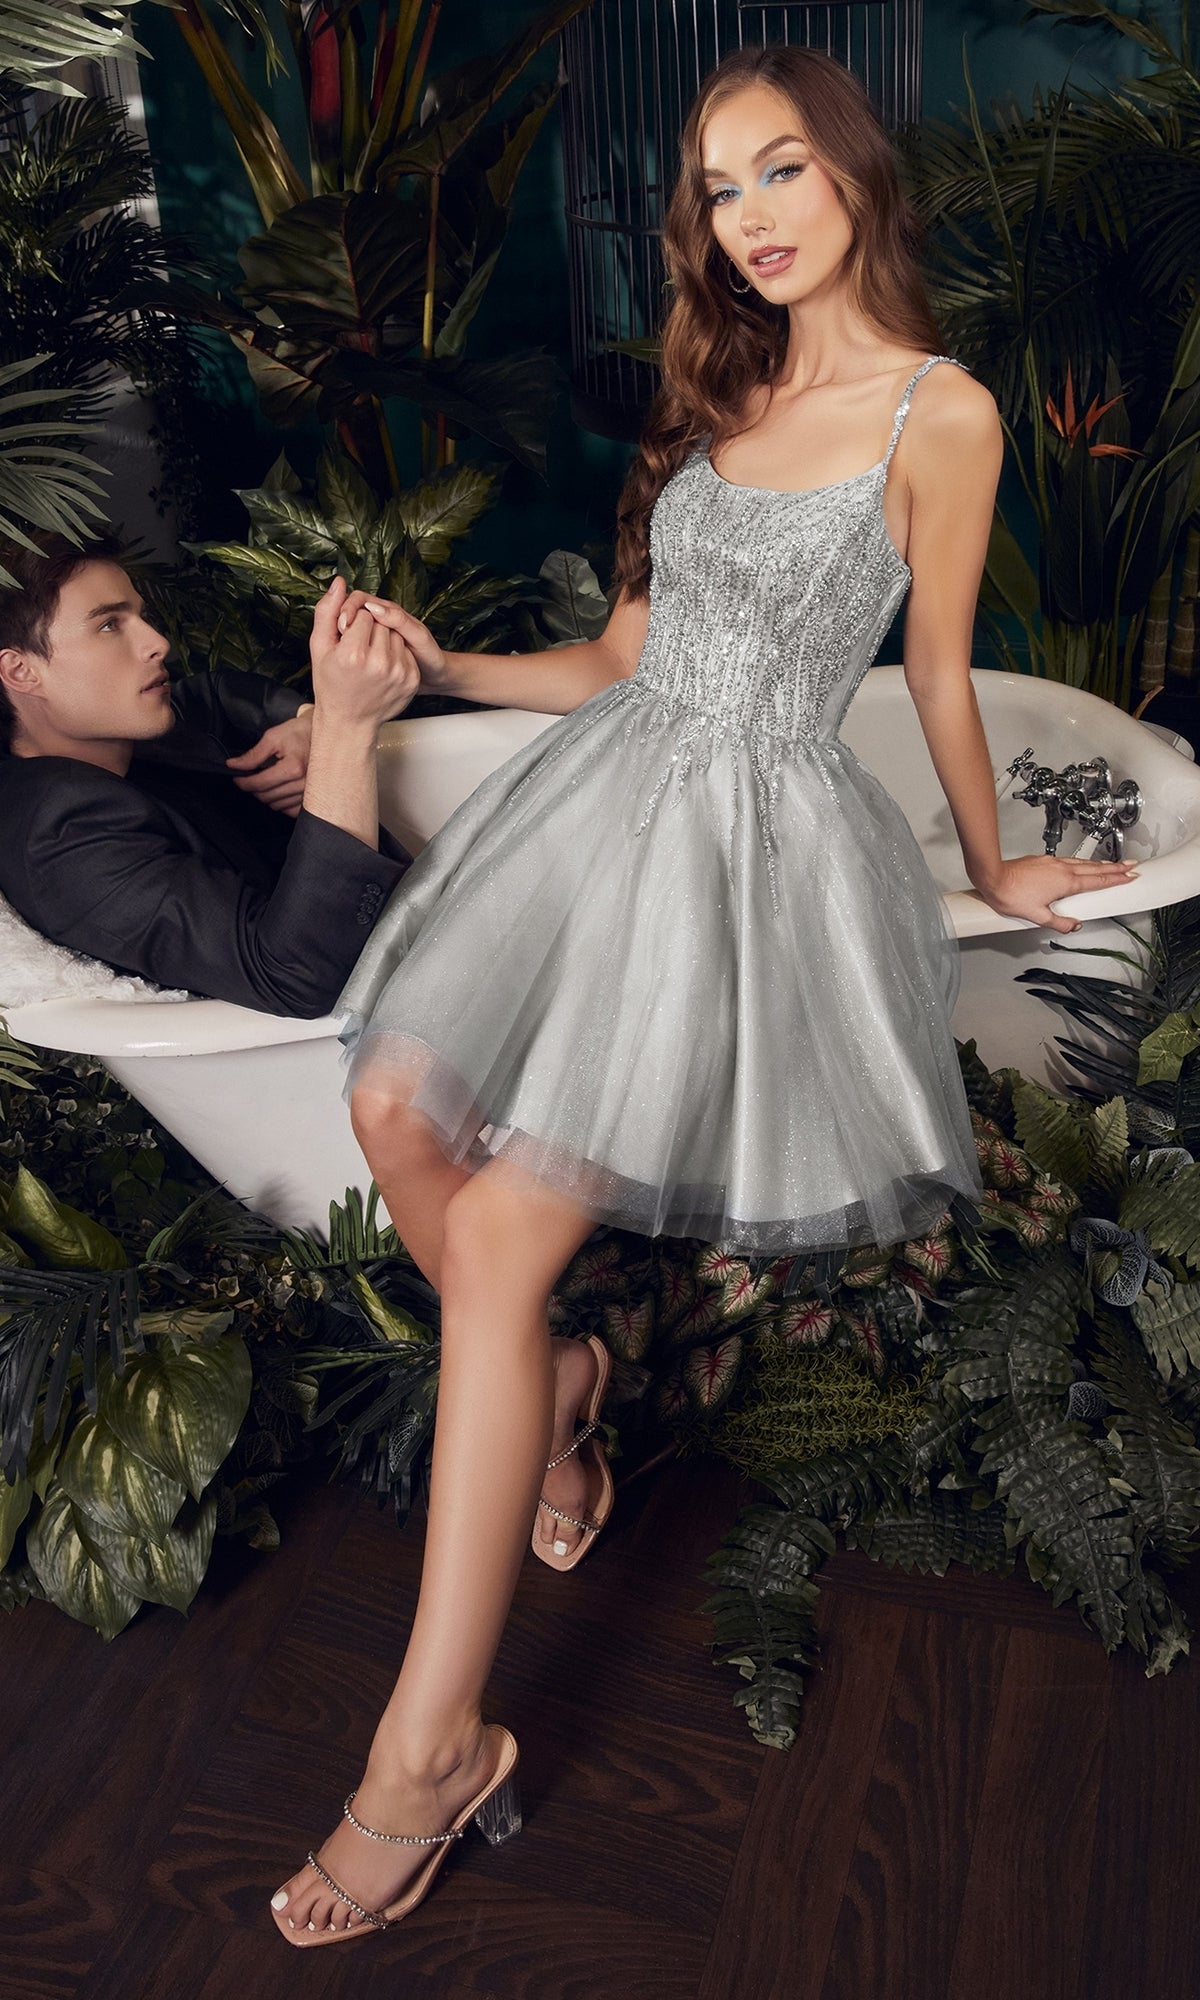
Embellished-Bodice Short Homecoming Dress - PromGirl
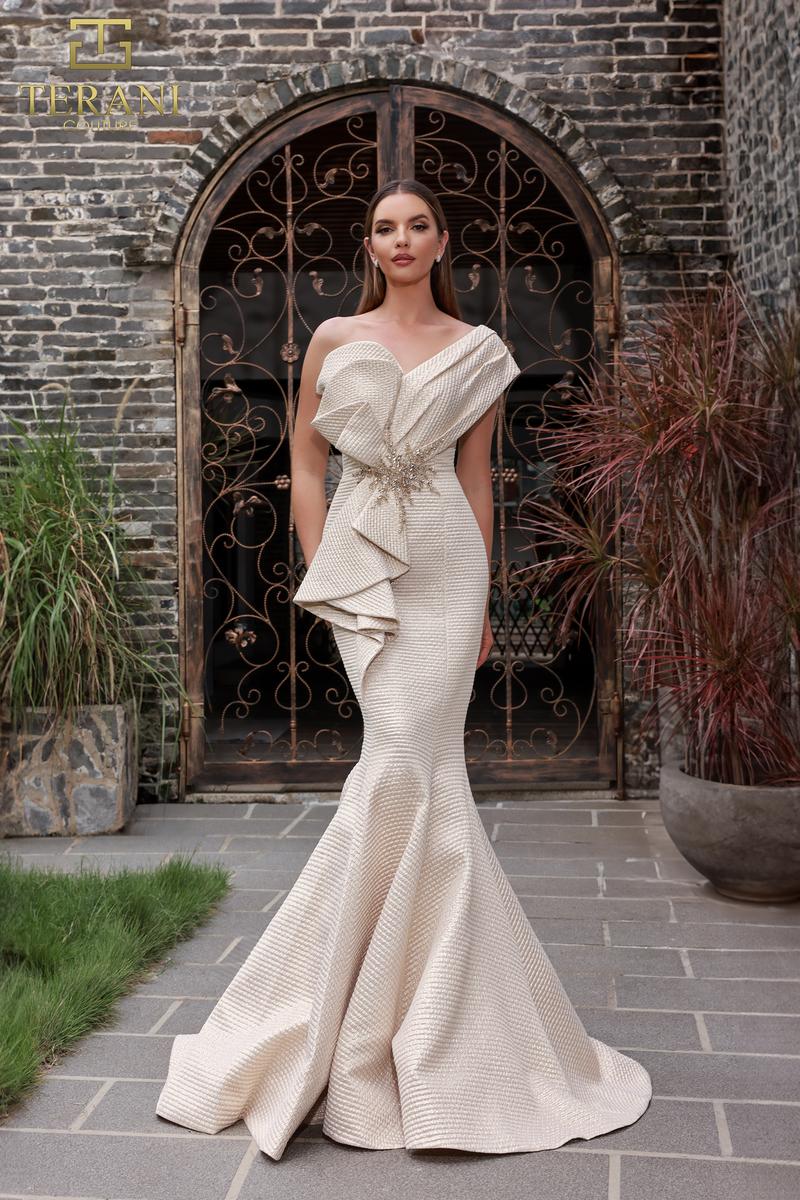
Terani Evenings 251E4201 Dream Dresses Old Bridge N.J
![Whitney Black Maxi Dress | Azazie UK [google]](admin/resimler/whitney-black-maxi-dress-azazie-uk-google_1764149758.webp)
Whitney Black Maxi Dress | Azazie UK [google]
Classy Dressy Dresses For Weddings Classy Luxury Outfits Classy ...
Yorumlar